Gluten and Dairy Free Chocolate Chip Cookies

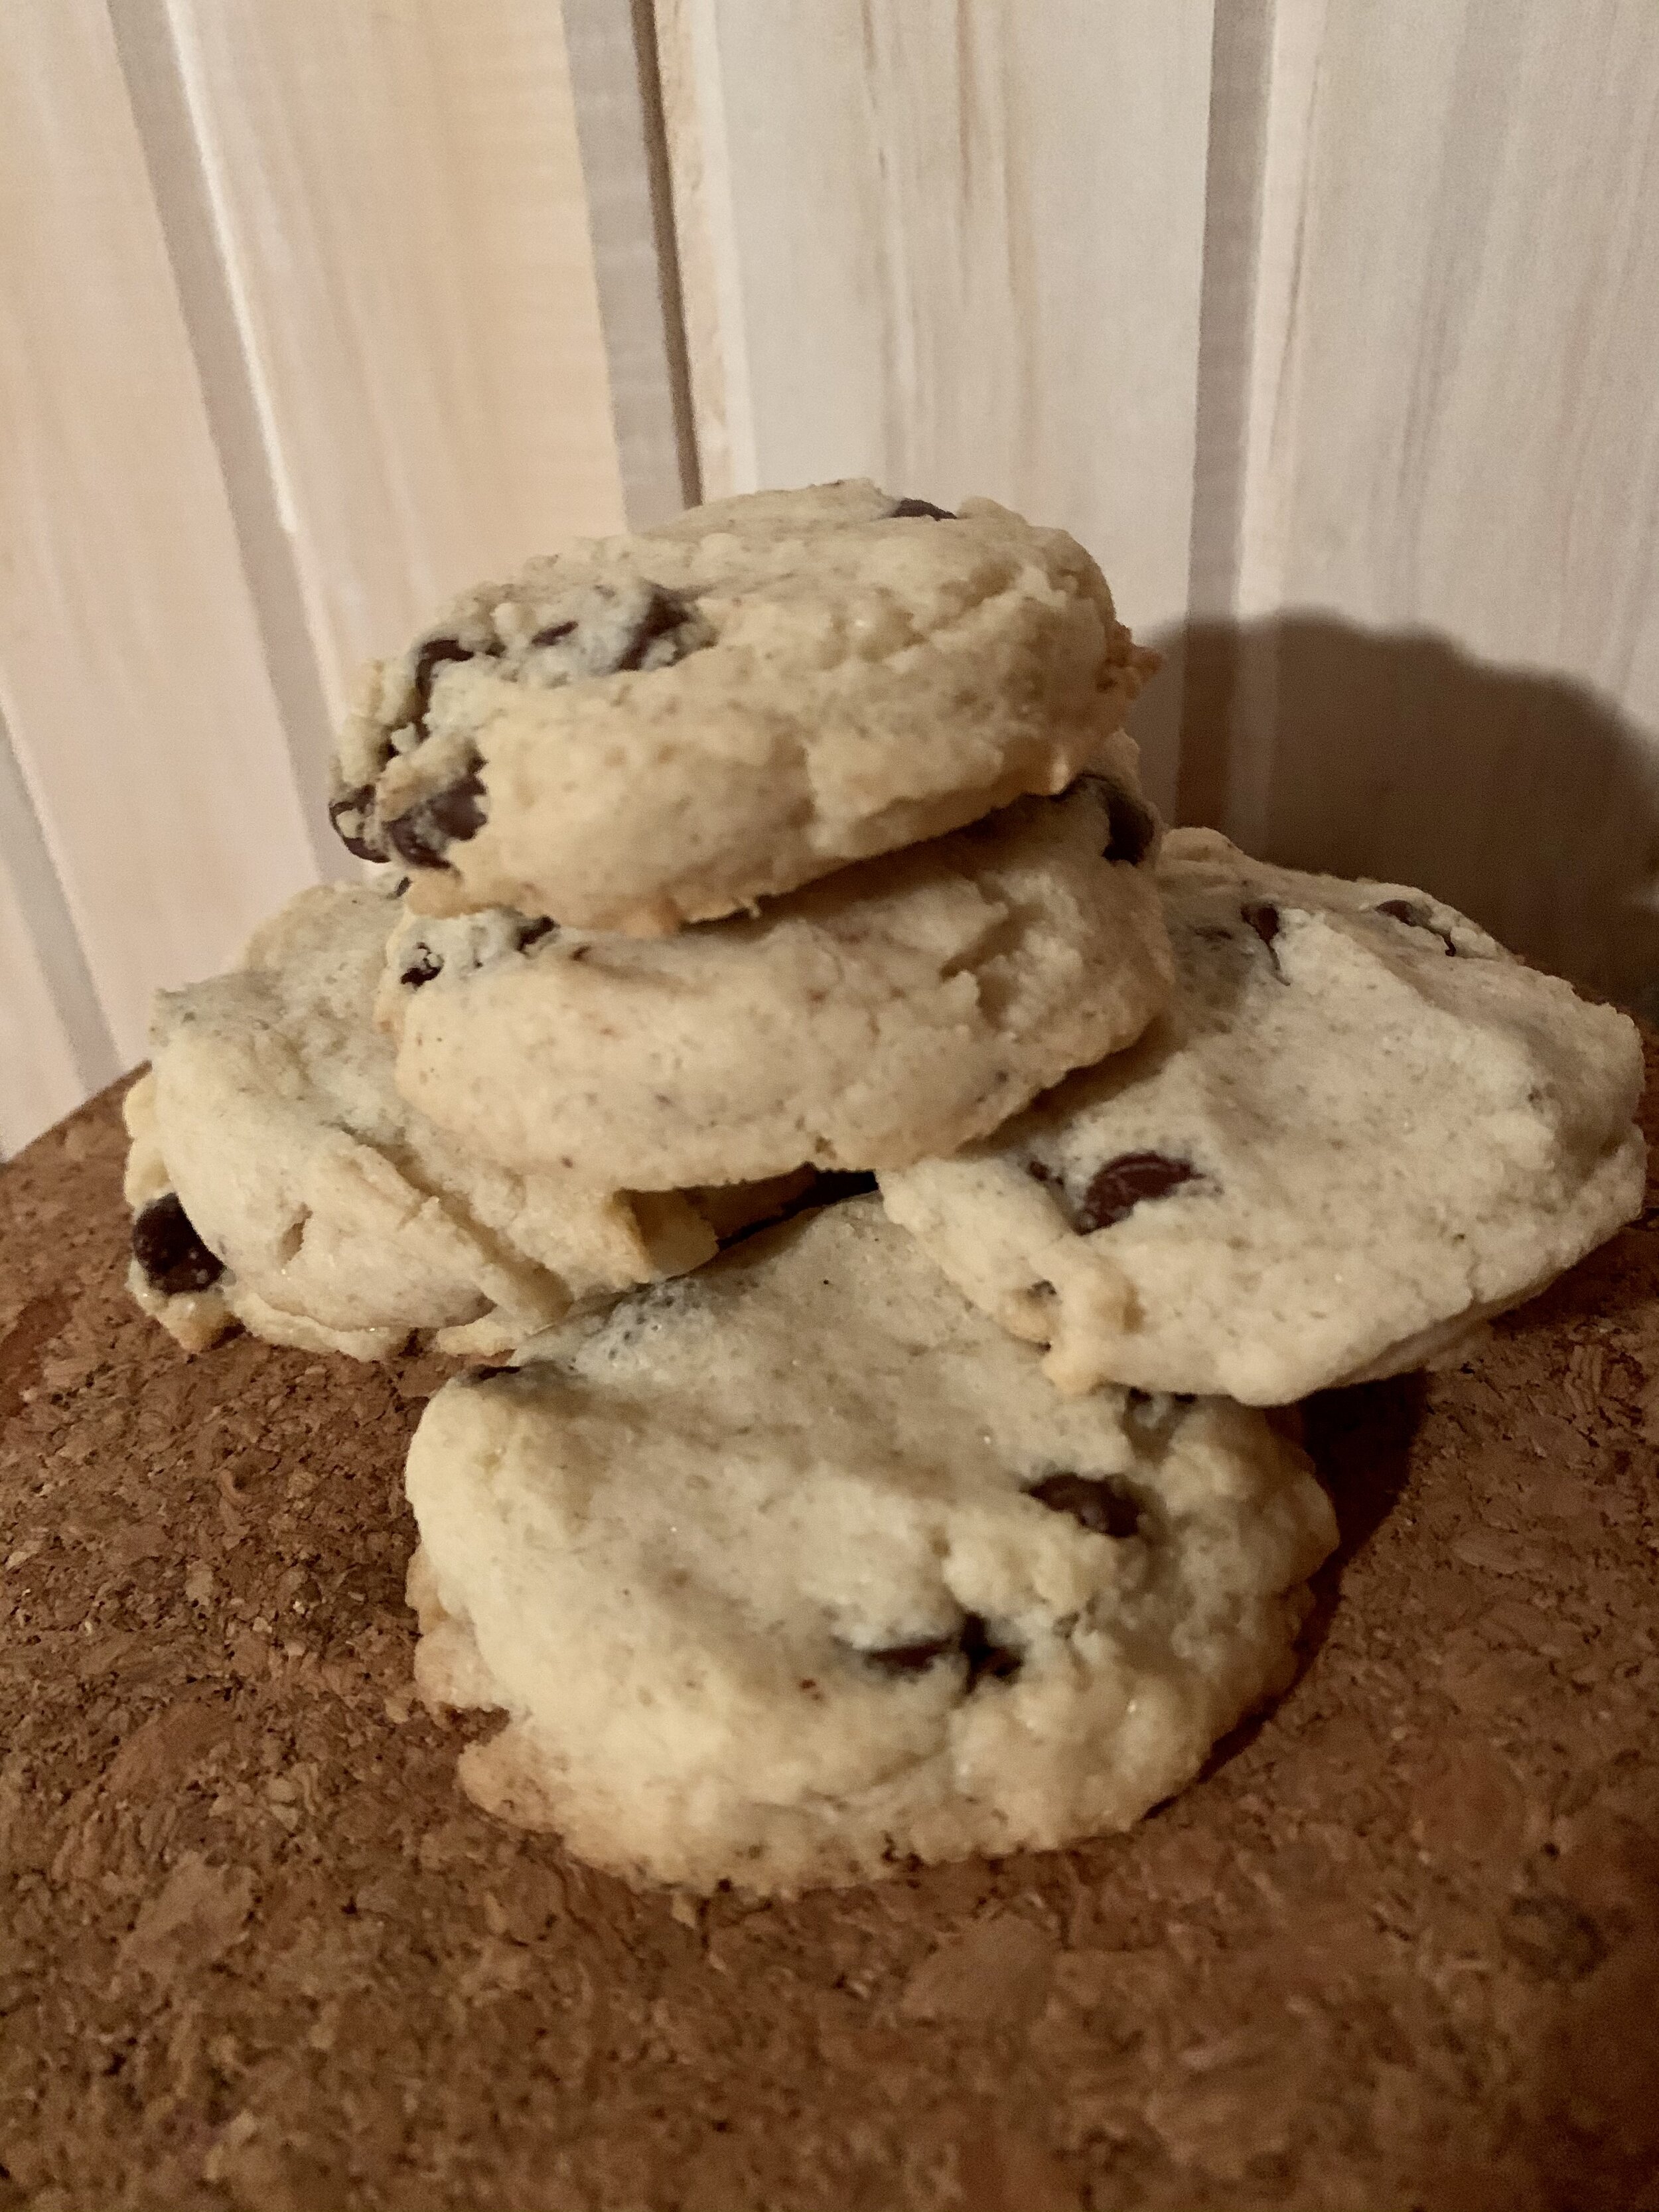
Ever have a recipe that you're just so excited about because it's so FREAKING awesome? That's this recipe. In fact, I wanted to name them "Holy Mother of Jesus Freaking Best Damn GF Chocolate chip cookie recipe ever to grace the good green earth".... but thought that might be a bit long….

So here we are, a delicious gluten and dairy free chocolate chip cookie recipe that pairs perfectly with any time of day. Yaaaassss!!! All of your hopes and dreams are now fulfilled.

These little guys are easy to make, freeze well, and are pretty versatile; you can switch up the sugars for different textures.

Want to know one of the secrets to consistently great chocolate chip cookies? You have to chill the dough. You’ve probably heard this before, but it’s worth repeating. Chilling the dough allows the fat in the cookie to firm up which means more even baking and less spread i.e. they hold their shape. But here’s my super fun secret: I scoop my dough out, put it on a baking sheet and then put it in the freezer which means that an hour of chilling, has turned into the amount of time to heat up my oven (about 10 minutes). You’ll want to put the chilly dough on a room temperature pan before baking though, otherwise you end up with a pan that could warp in the oven.

The other thing to note about gluten free chocolate chip cookies is that they need to be flattened before baking. If you put a ball of chocolate chip cookie dough in the oven, they won’t spread like regular cookies.

Pin this to save the recipe for later!

Pin this to save the recipe for later!

Add to Plan to Eat

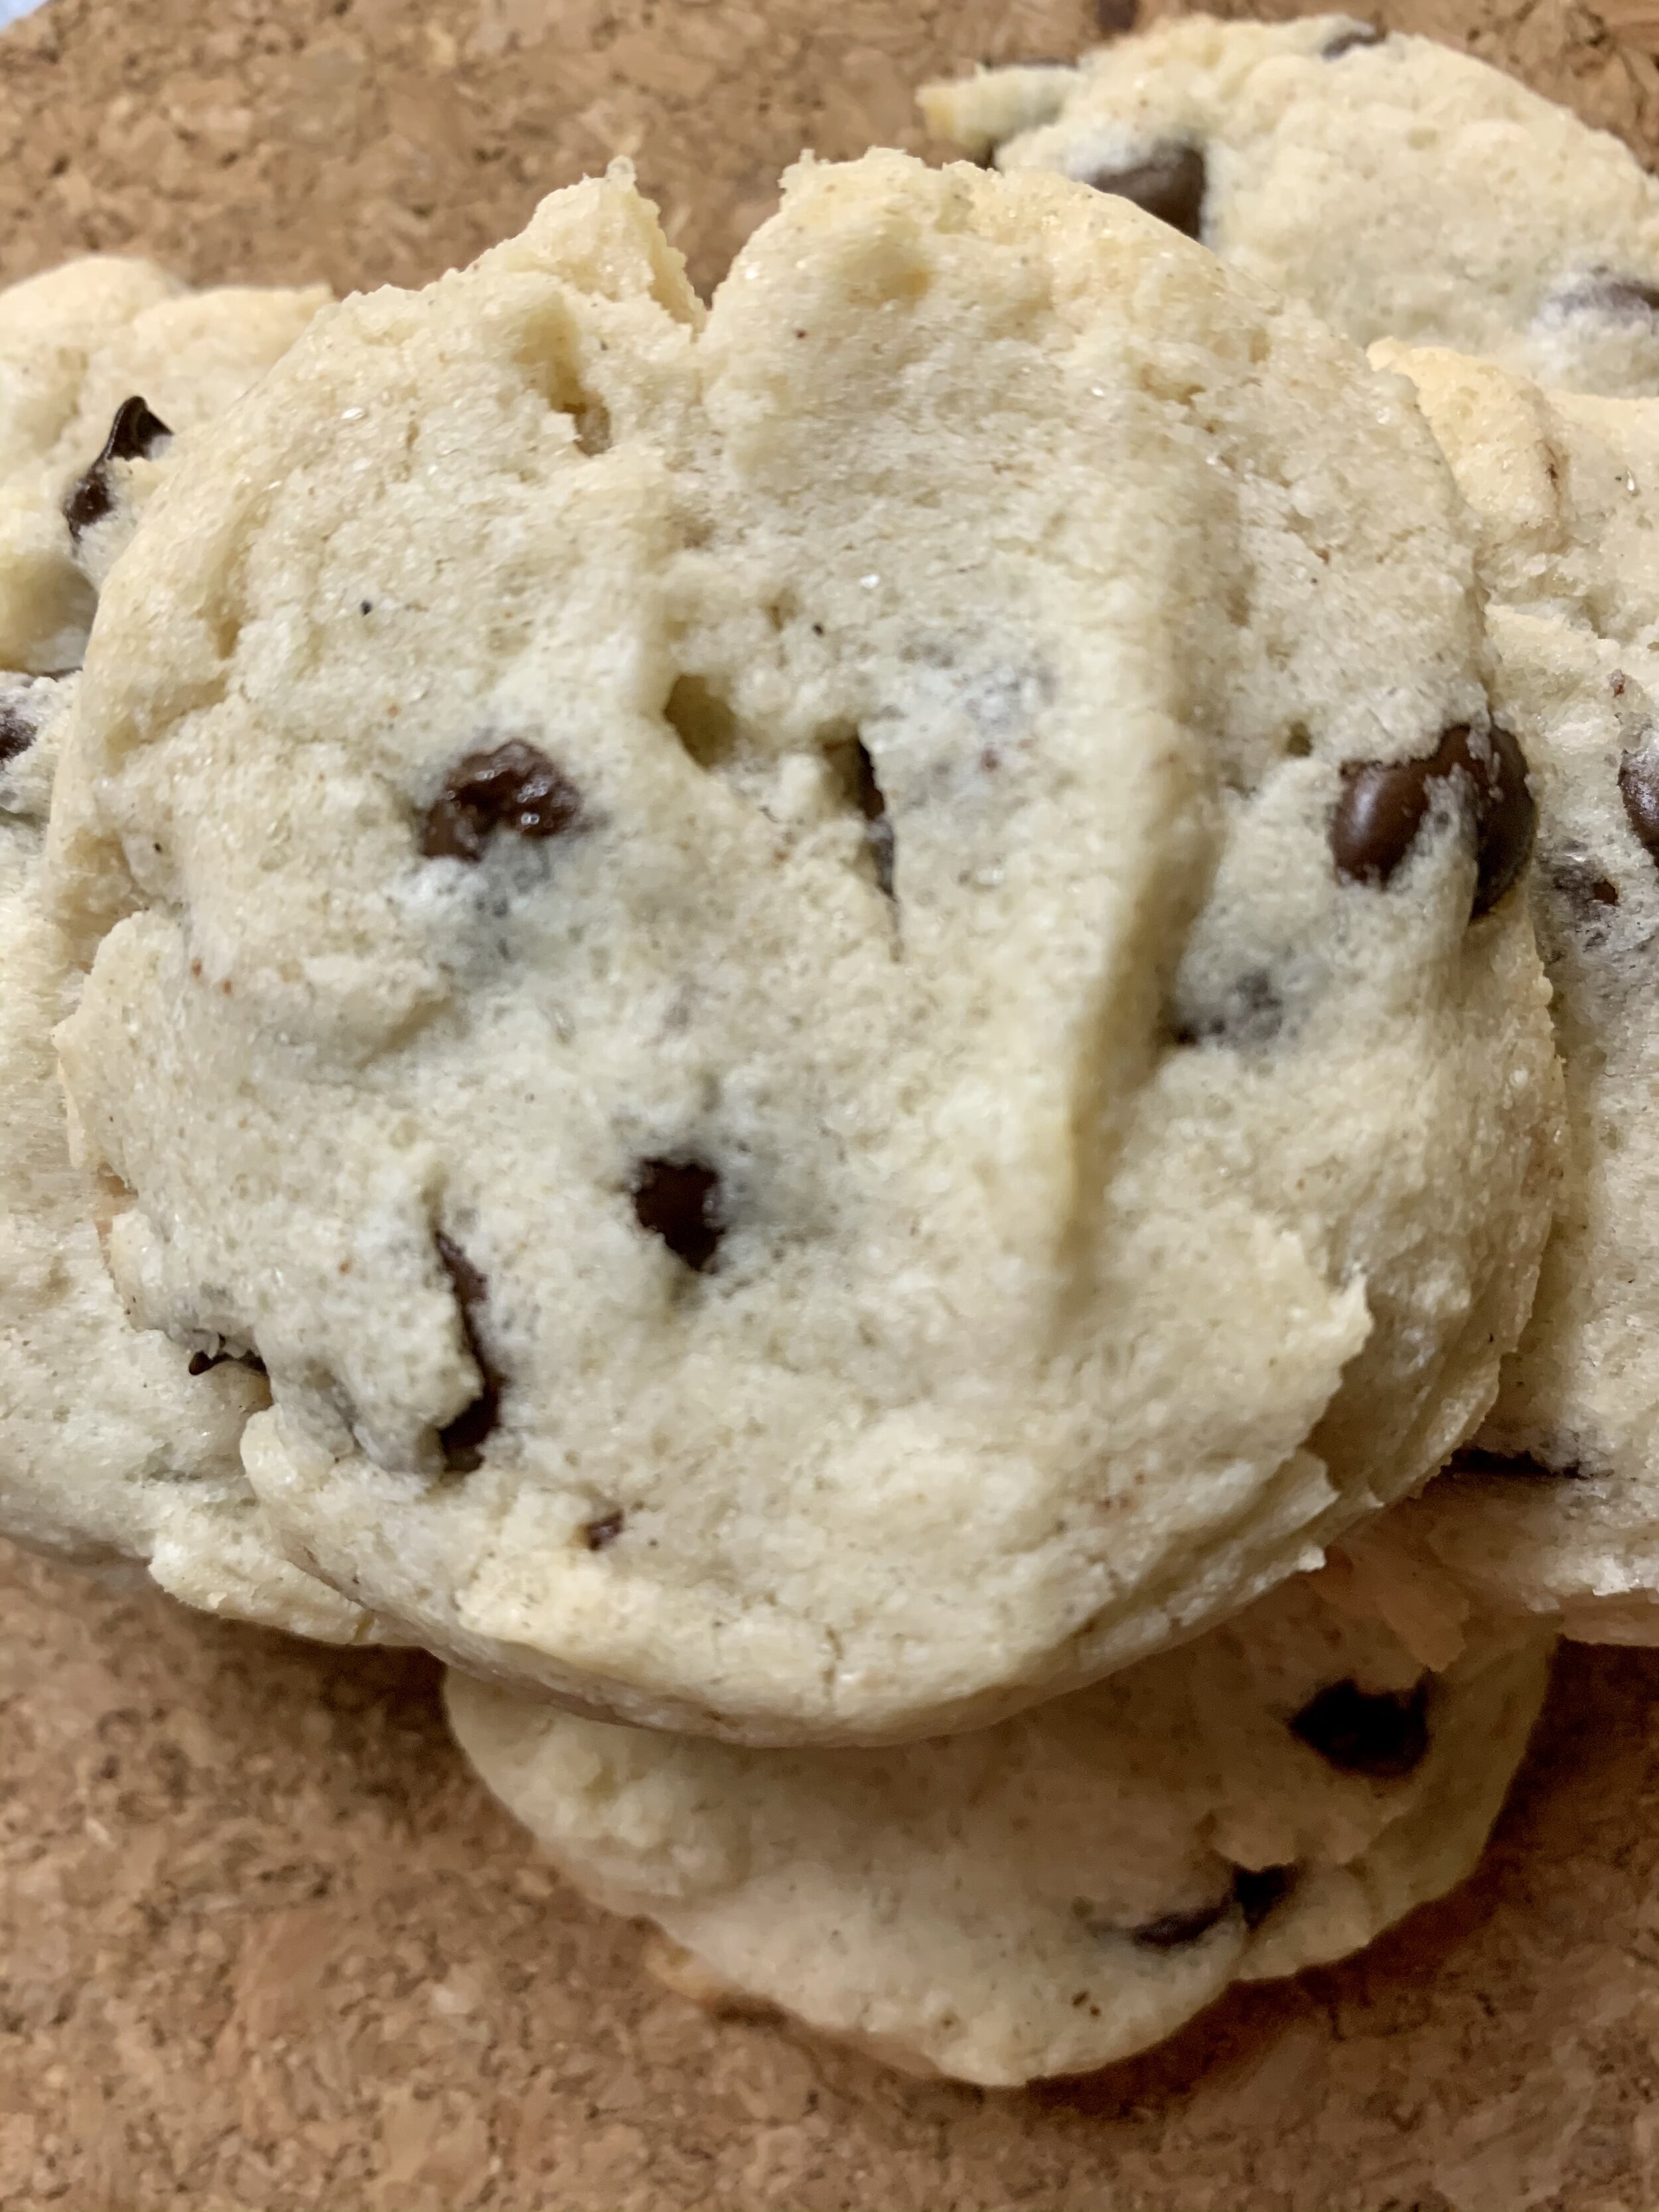
Gluten Free Chocolate Chip Cookies

Course: Desserts

Cuisine: American

Prep Time: 30 min

Cook Time: 9 min

Total Time: 39 min

Yield: 24 cookies

Serves:

Ingredients

  • 1 12 cups GF Flour Blend
  • 12 tsp xanthan gum
  • 1 teaspoon baking soda
  • 12 teaspoon salt
  • 12 cup coconut oil solid not liquid
  • 34 cup coconut sugar
  • 1 egg
  • 1 teaspoon Pure Vanilla Extract
  • 34 cup semi-sweet chocolate chips

Directions

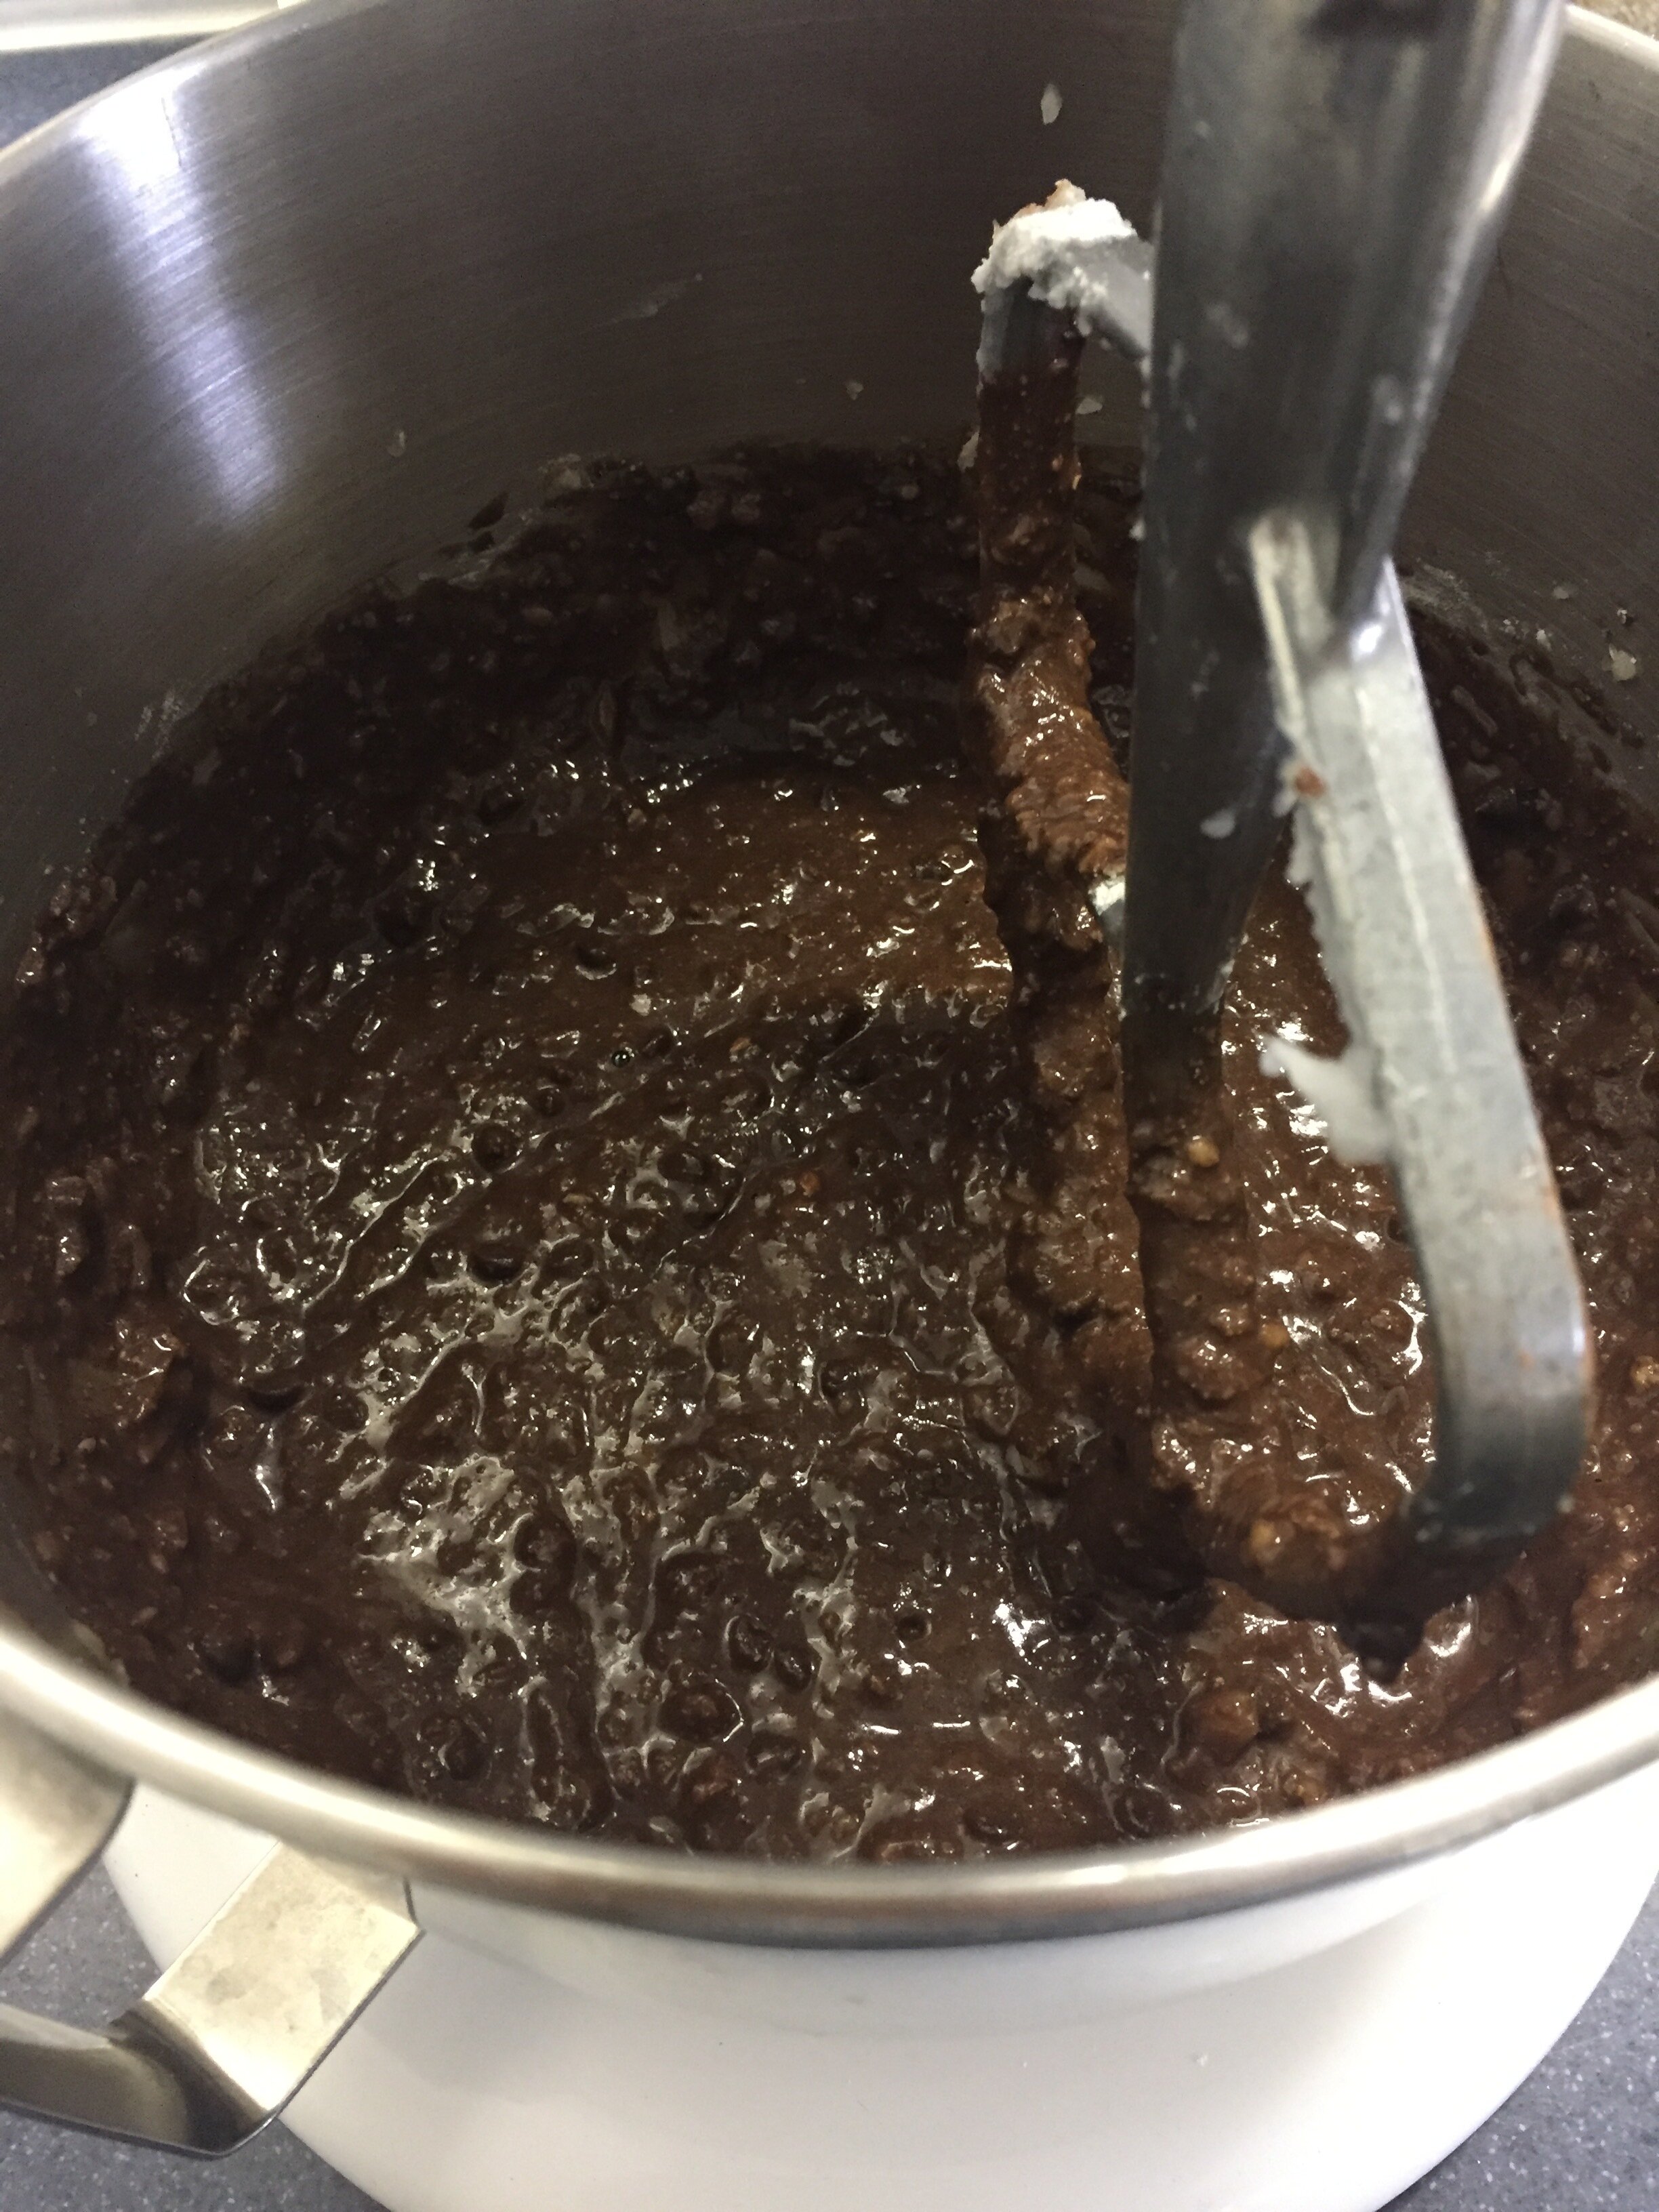
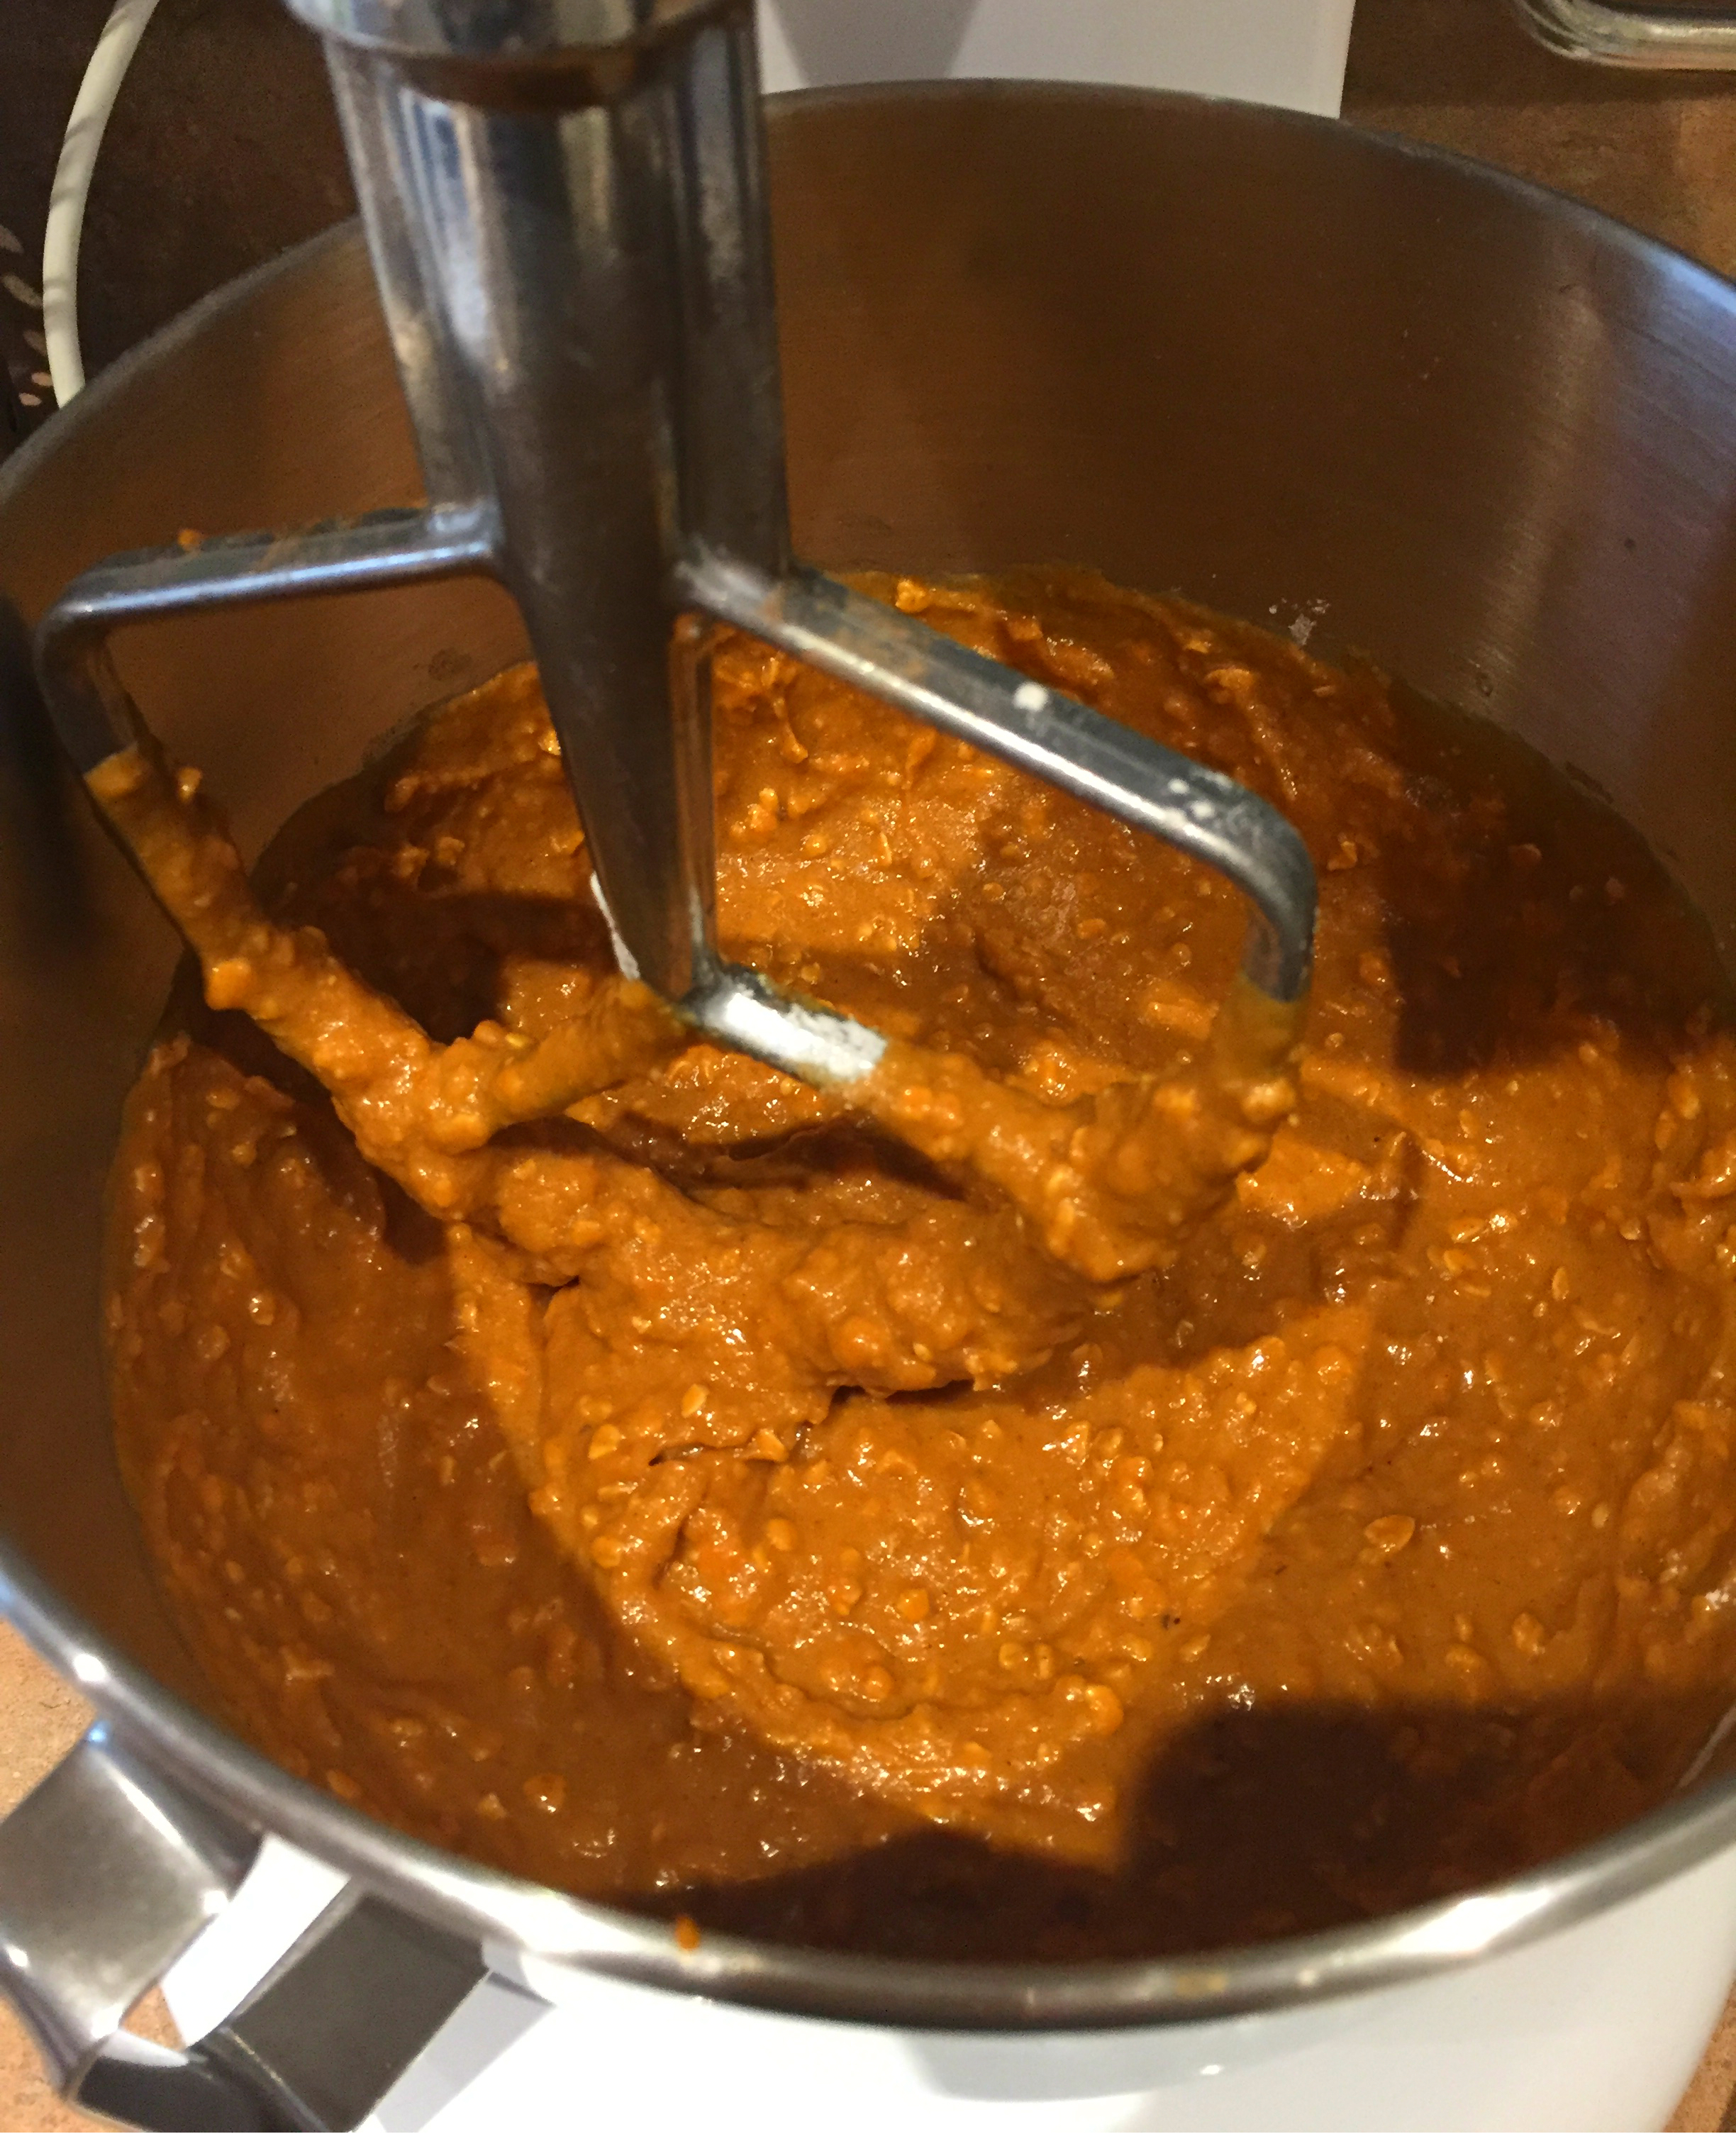
  1. Using a stand mixer or electric mixer, cream together coconut oil and coconut sugar until light and fluffy.
  2. NOTE: Depending on the desired texture, you can use white sugar for a more blonde and crispy cookie consistency or use a combo of brown and white sugar if you don't have coconut sugar for a tender on the inside cookie that is a lovely golden brown.
  3. Add egg and vanilla and beat until well combined.
  4. Add the dry ingredients to the mixing bowl and on low speed, begin to incorporate the dry ingredients (you don't want a cloud of flour). Mix until just combined.
  5. Fold in the chocolate chips.
  6. Line cookie sheets with parchment paper. Scoop rounded tablespoonfuls of dough onto prepared cookie sheets, 2 inches apart and slightly flatten the tops down. (Gluten free cookies don't spread quite the same as regular chocolate chip cookies.)
  7. Place the cookie sheets in the freezer to chill the dough while you heat up your oven to 350°F.
  8. If you don't have enough room in your freezer for both cookie sheets, put one in the fridge. It'll be fine.
  9. Once the oven is up to temperature, transfer the parchment paper and cookies to a cookie sheet that is room temperature so you don't get warping of the super cold baking sheet. If you don't have enough baking sheets, cookies can be chilled on a plate, in a container or even on a cutting board and then transferred accordingly.
  10. Bake one sheet at a time for 8-10 minutes, or until edges are slightly brown.
  11. Transfer the cookies to a wire rack to cool completely before storing in an airtight container.

Powered by
Plan To Eat

Gluten and Dairy Free Chocolate Zucchini Bread

I haven’t always liked zucchini. As a kid, it ranked low in vegetables I would eat. But after discovering new ways to prepare zucchini, I began to love it. If you’ve ever planted zucchini in a garden, you may have discovered that they are prolific! There seems to be no end to this summer squash, so what to do with it?

It’s lovely grilled, in salads, spiralized into noodles, marinated, made into zucchini lasagne, or dehydrated into chips, but there’s another way to use zucchini that even the most skeptical will be happy to eat: shredding and baking it into things. Things like double chocolate zucchini bread. But the twist here, like all of my recipes, is that it’s gluten and dairy free. This version is also nut free so it’s safe to share… if you’re the sharing type.

There’s a secret to perfect zucchini bread that I have to share with you though:

DRAIN IT!!!!

Here’s how: once you’ve shredded the zucchini, put it in a colander lined with a clean kitchen towel. While making the batter, let it sit and begin to drain. Then give it a good squeeze. You’ll be surprised by how much liquid will come out. If you don’t pre-drain the zucchini, it will make your zucchini bread too moist which alters the texture and it ends up spending too much time in the oven and you end up with gummy insides and burnt outsides…. yuck.

I hope you enjoy this recipe! If you want a moist, rich and delicious not-too-sweet chocolate bread that satisfies any palate, and is great any time of day, give this a go! And don’t forget to share with friends and let us know if you tried it.


double chocolate zucchini bread.jpg
Add to Plan to Eat

Gluten and Dairy Free Chocolate Zucchini Bread

A delicious gluten and dairy free chocolate zucchini bread that is gluten, nut and dairy free.

Course: Breads

Prep Time: 15 min

Cook Time: 50 min

Total Time: 1 hr 5 min

Yield: 1 Loaf

Serves:

Ingredients

  • 3 Eggs
  • 14 cup maple syrup
  • 13 cup coconut sugar
  • 1 12 tsp baking soda
  • 1 12 tsp baking powder
  • 14 tsp sea salt
  • 12 cup unsweetened cocoa powder
  • 14 cup melted coconut oil (or sub another neutral oil)
  • 14 cup unsweetened almond milk (or any other milk)
  • 1 cup grated zucchini (squeezed dry and lightly packed in measuring cup)
  • 34 cup gluten-free flour blend
  • 23 cup gluten-free oat flour (finely ground rolled oats)
  • 13 cup dairy-free semisweet chocolate chips (plus more for topping // I like Enjoy Life brand)
  • 1 Tsp Cinnamon

Directions

  1. Preheat oven to 375 degrees F (190 C) and line a standard 9x5-inch loaf pan with parchment paper.
  2. I used my KitchenAid mixer with the paddle attachment for this but you could use a bowl and a whisk/ spoon combo just as easily.
  3. In the bowl of stand mixer, add eggs, maple syrup, coconut sugar, baking soda, baking powder, sea salt, cinnamon, and cocoa powder, and mix on low until incorporated.
  4. Next add the melted coconut oil and almond milk and mix to combine. Add grated zucchini (that's been squeezed of excess moisture) and stir to combine.
  5. Add gluten-free flour and oat flour, and mix until just combined. If the batter appears too thick, add a touch more almond milk. But it should be thick and scoopable.
  6. Stir in chocolate chips. Then transfer batter to the loaf pan and top with a few more chocolate chips.
  7. Bake 45 minutes - 1 hour or until a toothpick comes out clean and the edges feel semi-firm to the touch. If you have a thermometer, it should read about 210F when done.
  8. Let cool for 5 minutes in the pan. Then carefully lift onto a cooling rack using the parchment paper. Texture is best when cooled completely.
  9. The loaf keeps well covered at room temperature for 3-4 days and then out in the fridge if there are any leftovers after that. It can be kept in the freezer for up to 1 month.

Powered by
Plan To Eat

AFFILIATE NOTES: I really love Plan to Eat and you will find all our recipes posted through their software. It saves us time and energy. I use Plan to Eat, I can vouch for their software and our clients appreciate the functionality when receiving meal plans. If you choose to purchase a membership to their service, KSPHealth.com gets a small referral bonus - we use this money to help offset the costs of running our business online.

Pardon our appearance...

While we do some upgrades to the website and blog, things might seem a bit sparse around here. Stay tuned for new weekly updates and subscribe to our newsletter:

Gluten and Dairy Free Pumpkin Streusel Muffins

I love fall. I love the change in colours, the ability to sleep at night, to cuddle up with my hubby and the food. Fall flavours are special. And I love pumpkin pie and stuffing. With Thanksgiving now behind us, at least here in Canada, I wanted to use up the leftover pumpkin puree I had on hand. Delicious fall treats seem to never seem to use up the whole can of pumpkin puree. Waste not, want not!

Pumpkin Streusel Muffins 2.jpg

Pumpkin spice muffins with a streusel topping sounded like the perfect use for that leftover pumpkin puree. These muffins are soft, delicious and taste like fall. With my gluten allergy and hubby’s lactose intolerance, everything I bake is gluten and dairy free. These are no exception. I added the streusel topping for a little extra sweetness and crunch, but it could easily be omitted. 

Add to Plan to Eat

Pumpkin Spice Streusel Muffins

Soft, spicy, full of flavour and a crumble topping! All while being gluten and dairy free.

Course: Desserts

Prep Time: 20 min

Cook Time: 25 min

Total Time: 45 min

Yield: 12

Serves:

Ingredients

  • MUFFIN MIX
  • 2 eggs
  • 34 cup pumpkin puree
  • 23 cup coconut sugar packed
  • 14 cup pure maple syrup
  • 14 cup avocado oil
  • 1 tsp vanilla extract
  • 2 tsp baking soda
  • 14 tsp sea salt
  • 12 tsp ground cinnamon
  • 1 12 tsp pumpkin pie spice
  • 12 cup water
  • 12 cup almond meal
  • 34 cup gluten-free rolled oats
  • 1 cup gluten-free flour blend
  • CRUMBLE TOPPING
  • 3 Tbsp coconut sugar
  • 3 12 Tbsp gluten-free flour blend
  • 2 Tbsp roughly chopped walnuts could sub pecan or pepitas
  • 1 14 Tbsp coconut oil
  • 14 tsp cinnamon
  • 14 tsp ground ginger

Directions

  1. Preheat oven to 350 degrees F (174 C) and lightly grease a standard size muffin tin.
  2. In the bowl of a stand mixer, add eggs, pumpkin purée, coconut sugar, maple syrup, avocado oil, and vanilla extract. Mix with the paddle attachment on medium-low for one minute.
  3. Add baking soda, salt, cinnamon, and pumpkin pie spice, and mix. Add water and mix once more.
  4. Add almond meal, gluten-free oats, and gluten-free flour blend and mix on low until combined.
  5. Divide batter evenly among muffin tins, filling all the way full.
  6. Add crumble ingredients to another small bowl. Mash ingredients together with a fork or your hands until crumbly like wet sand. Generously top muffins with streusel.
  7. Bake for 25 minutes or until tops are golden brown and a toothpick or knife comes out completely clean.
  8. Let cool for 5 minutes in the muffin tin, then gently remove and cool completely on a cooling rack. Enjoy warm or at room temperature.
  9. Once completely cooled, store in a covered container at room temp for 3-4 days, though best when fresh. Freeze for longer term storage.

Powered by
Plan To Eat

AFFILIATE NOTES: I really love Plan to Eat and you will find all our recipes posted through their software. It saves us time and energy. I use Plan to Eat, I can vouch for their software and our clients appreciate the functionality when receiving meal plans. If you choose to purchase a membership to their service, KSPHealth.com gets a small referral bonus - we use this money to help offset the costs of running our business online. 

Roast Chicken and Veggies

Who doesn’t love a simple dinner that everyone in the family will love!?

This roast chicken recipe is definitely one of those dinners and it’s rustic charm means that perfectly chopped veggies are not necessary!! I always just rough chop the veg to make this dinner come together quickly. And a secret: sometimes I just leave the carrots whole. 

This was a summer roasted chicken so we roasted: purple potatoes, white potatoes, watermelon radish, onion, beets and sunchokes.

Make this dinner your own by roasting whatever veg you have on hand. Pretty much every veggie tastes good roasted, but choose hard root vegetables when roasting with chicken. I've found softer veg like peppers and zucchini get too mushy.

Whether you want to make this fancy or super quick and simple, having a great roast chicken recipe should be in your recipe book.

Add to Plan to Eat

Perfect roast chicken with veggies

Course: Main Course

Cuisine: American

Main Ingredient: Chicken

Prep Time: 10 min

Cook Time: 45 min

Total Time: 55 min

Serves:

Ingredients

  • 1 organic whole chicken
  • 1 bunch rosemary
  • 1 onion small
  • 3 cloves garlic
  • 2 carrots
  • 2 potatoes
  • 4 beets
  • 14 cup Extra virgin olive oil
  • Salt and Pepper to taste

Directions

  1. Preheat oven to 450*F
  2. Cut up carrots, potatoes, beets and onions into chunks (you can wash them well and leave the skins on) - place them into a roasting pan leaving a couple chunks of onion out. Smash the garlic and roughly chop 2 of them; put 2 in the pan with the veggies. Sprinkle about a tablespoon of the rosemary over the veg with a couple tablespoons of olive oil and some salt and pepper. Mix together.
  3. Inside cavity of bird, place the rest of the rosemary bunch, 1 smashed garlic clove and a couple chunks of onion. Place the chicken over the veggies and rub some olive oil on the skin. After washing your hands REALLY well, sprinkle salt and pepper on the outside.
  4. Roast at 450 for 18 minutes. Then without opening the oven, turn the heat down to 350*F and cook for another 25 minutes. Check if the chicken is cooked by juices running clear, a thermometer that reads 165F in the thickest part, or cutting into the bird and making sure it is cooked throughout. If in doubt, cook longer!
  5. Serve with pan juices.
  6. Note: You can use any vegetables that you may have or need to use up, such as cabbage, brussel sprouts, kale, radicchio, broccoli, sweet potato, cauliflower, celery, kohlrabi, radishes, etc. I don't suggest soft veg like eggplant, zucchini or peppers in the pan with Roast chicken as they will get overcooked.

Powered by
Plan To Eat

Add to Plan to Eat

AFFILIATE NOTES: I really love Plan to Eat and you will find all our recipes posted through their software. It saves us time and energy. I use Plan to Eat, I can vouch for their software and our clients appreciate the functionality when receiving meal plans through this software. If you choose to purchase a membership to their service, KSPHealth.com gets a small referral bonus - we use this money to help offset the costs of running our business online.